How to make a
Towel Poncho
Beginner Friendly
✄
Beginner Friendly ✄
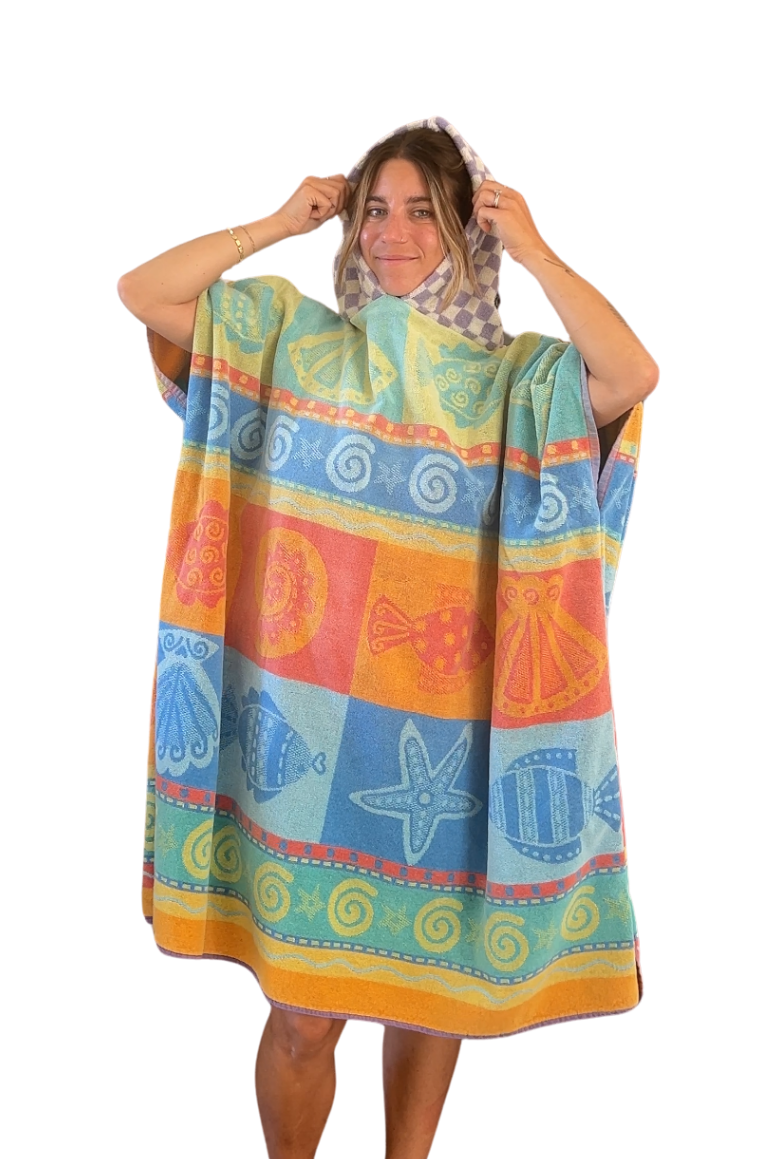
Making a towel poncho is one of the best beginner sewing projects, because it teaches you basic construction skills without having to print a pattern or worry about any curvatures of the body. Plus, I find that there are always a few old towels around the house that could use a second life (or at the thrift shop for a few bucks, which is where I got this one!)
Materials You’ll Need
Two standard size beach towels, or one oversized beach towel (mine was 34” wide x 72” long)
1 hand towel
Sewing Clips or Pins (I’d recommend clips in this instance because the fabric will be bulky)
Matching Thread
A heat erasable pen for marking
The Prep
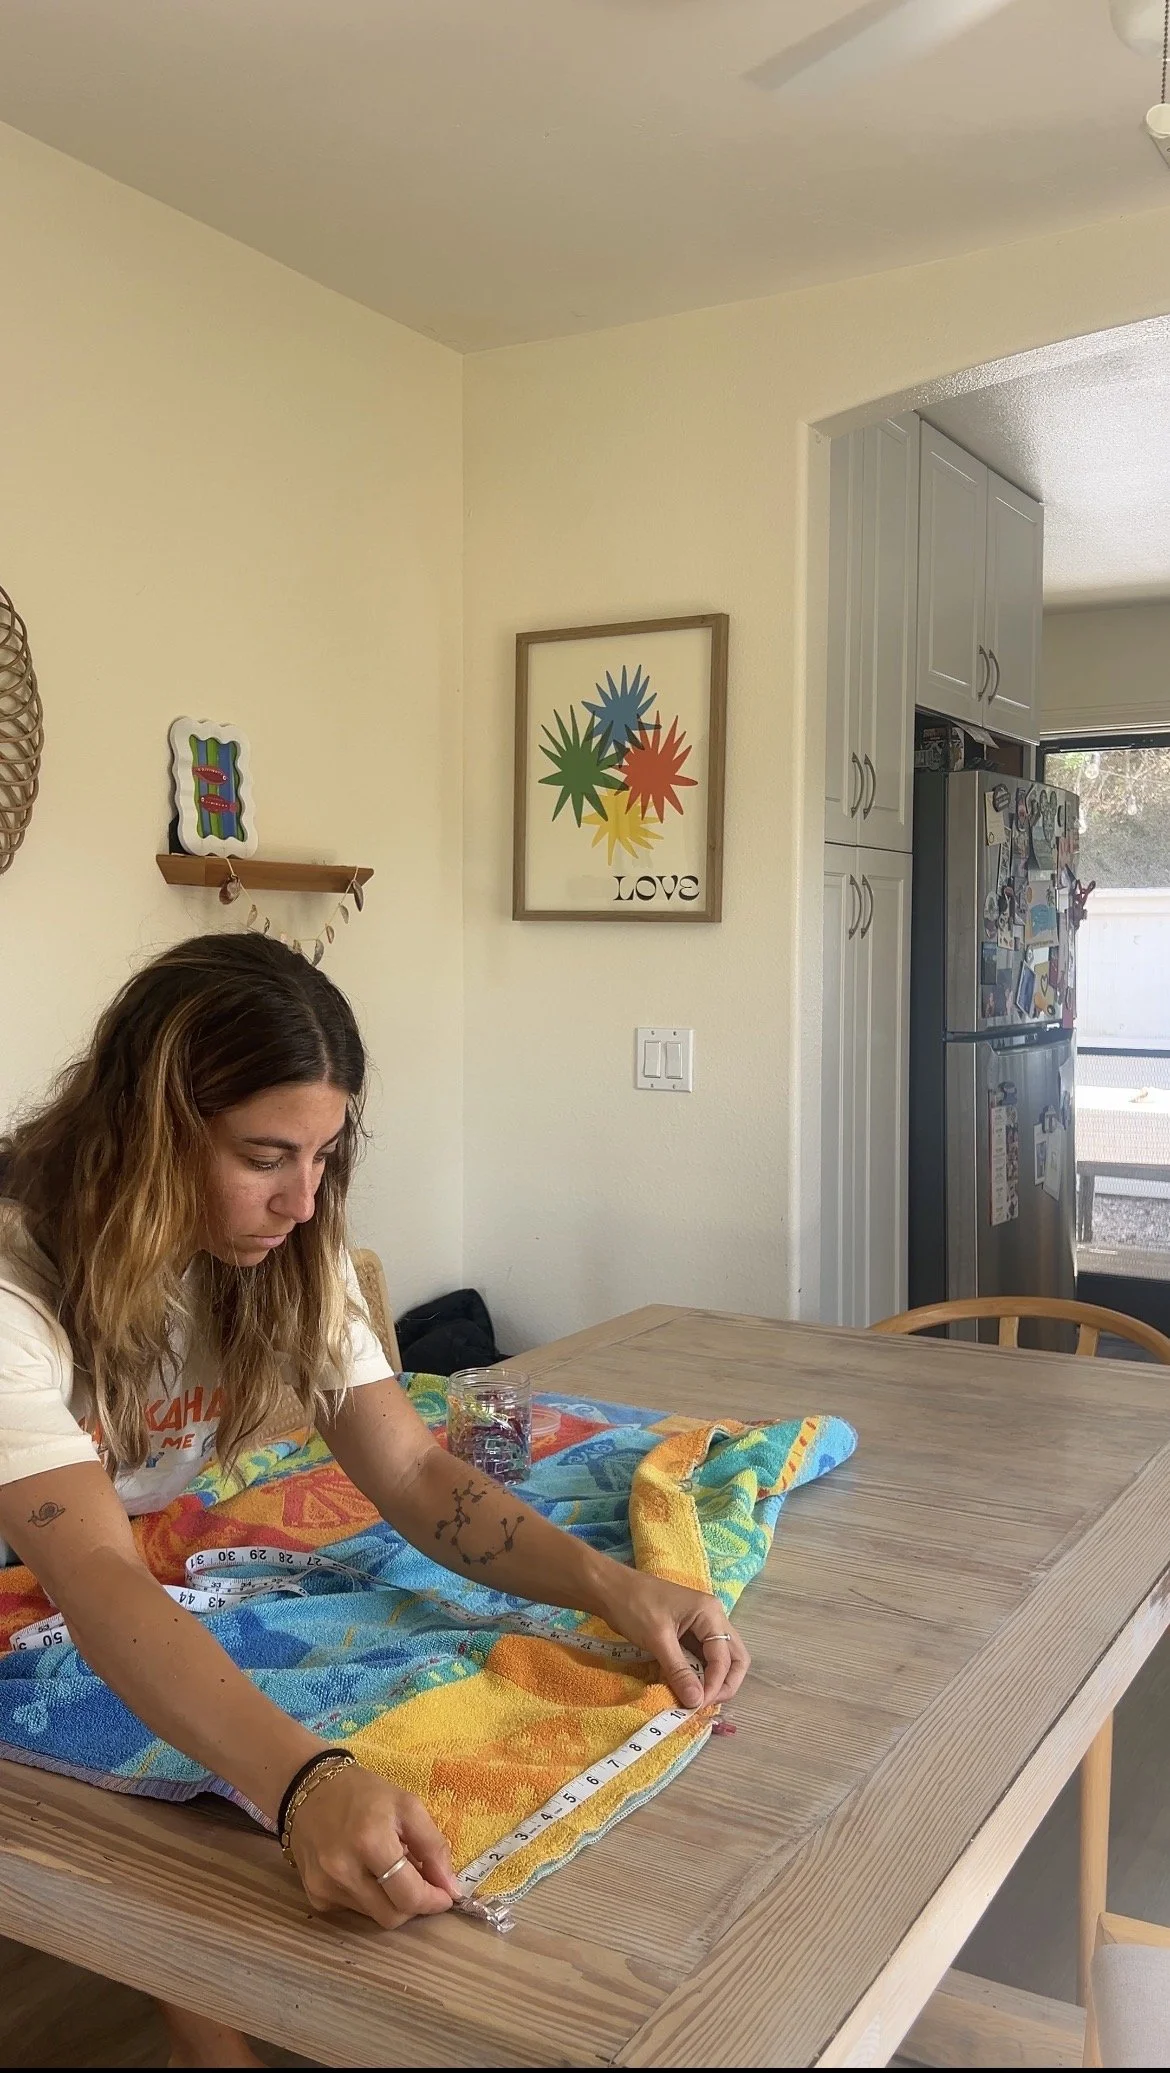
1 Measure Your Body
Determine the length you’d like the poncho to be. I would recommend it to hit below the knee but this is personal preference. For reference, mine was 34” and I am 4’11”
3 Finish Any Raw Edges
The lovely part about working with towels is that some edges are already finished for you. Where you’ve cut the fabric will need to be sewn with a zig zag or serged stitch first. For more info on zig zag stitch settings, check out my stitch guide.
4 Mark Your Notches
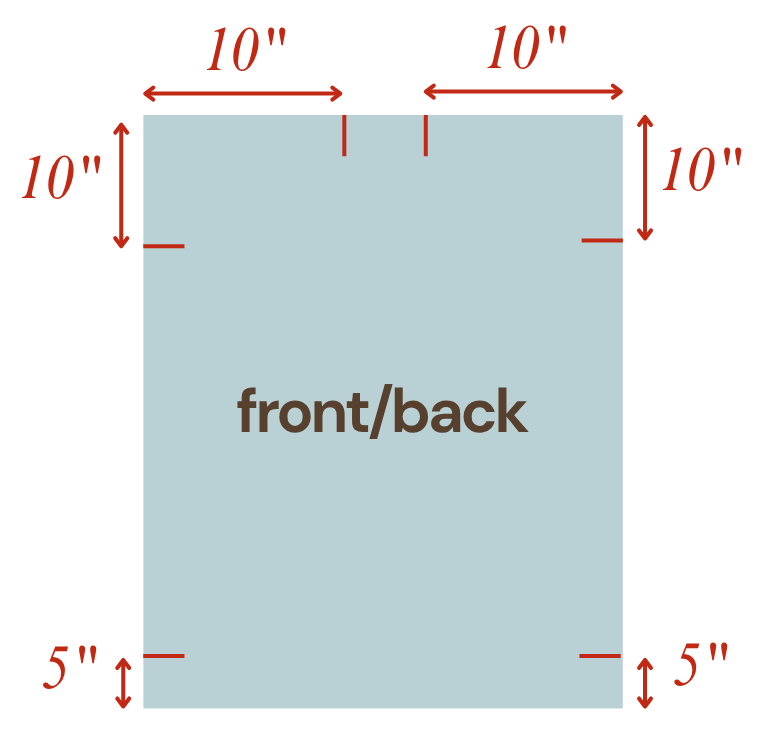
Determine which edge of the rectangle will be your top and which will be the bottom. On the top edge, mark 10” in from the edge on either side.
Mark 10” down from the top on each side edge, as well as 5” up from the bottom.
Determine which panel will be the front and which will be the back. Fold the back panel in half and mark the center back.
Fold the hand towel in half lengthwise and mark the center.
2 Cut Your Towels
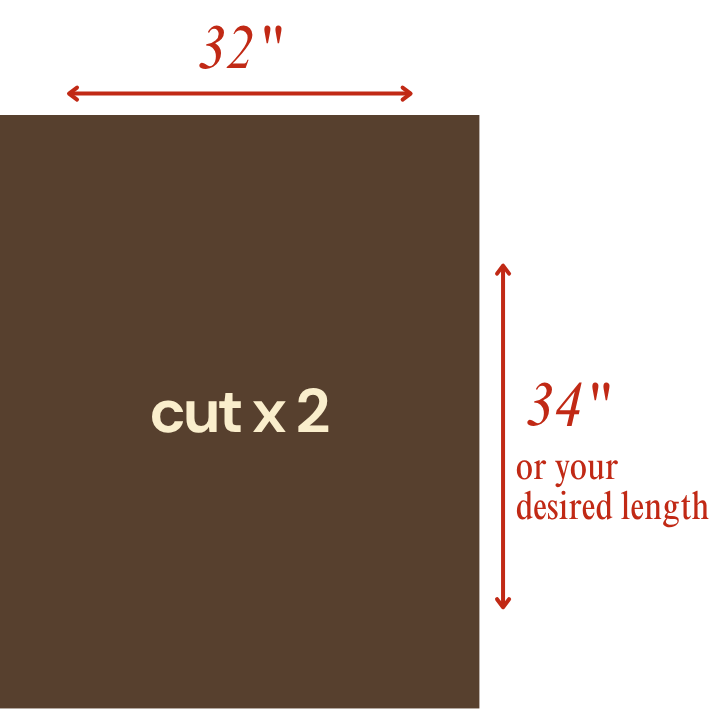
The width of your rectangle should be 32”, and the length is the measurement you determined. You will need two rectangles of this size.


1 Sew the Shoulder Seams
With right sides together, sew from to the edge of the poncho to the 10” mark on your fabric. Make sure to backstitch at the start and end of all stitches. Repeat on on the other side.
You will now have a smock-like towel that you can fit over your head. Make sure the size of the neck hole fits your body well and adjust accordingly. If you need the neck hole smaller, extend the seam in toward the center. If you need it larger, unpick the seam and make it shorter on both sides.
Construction
All seams will be created with 1/2” seam allowance
2 Attach the Hood
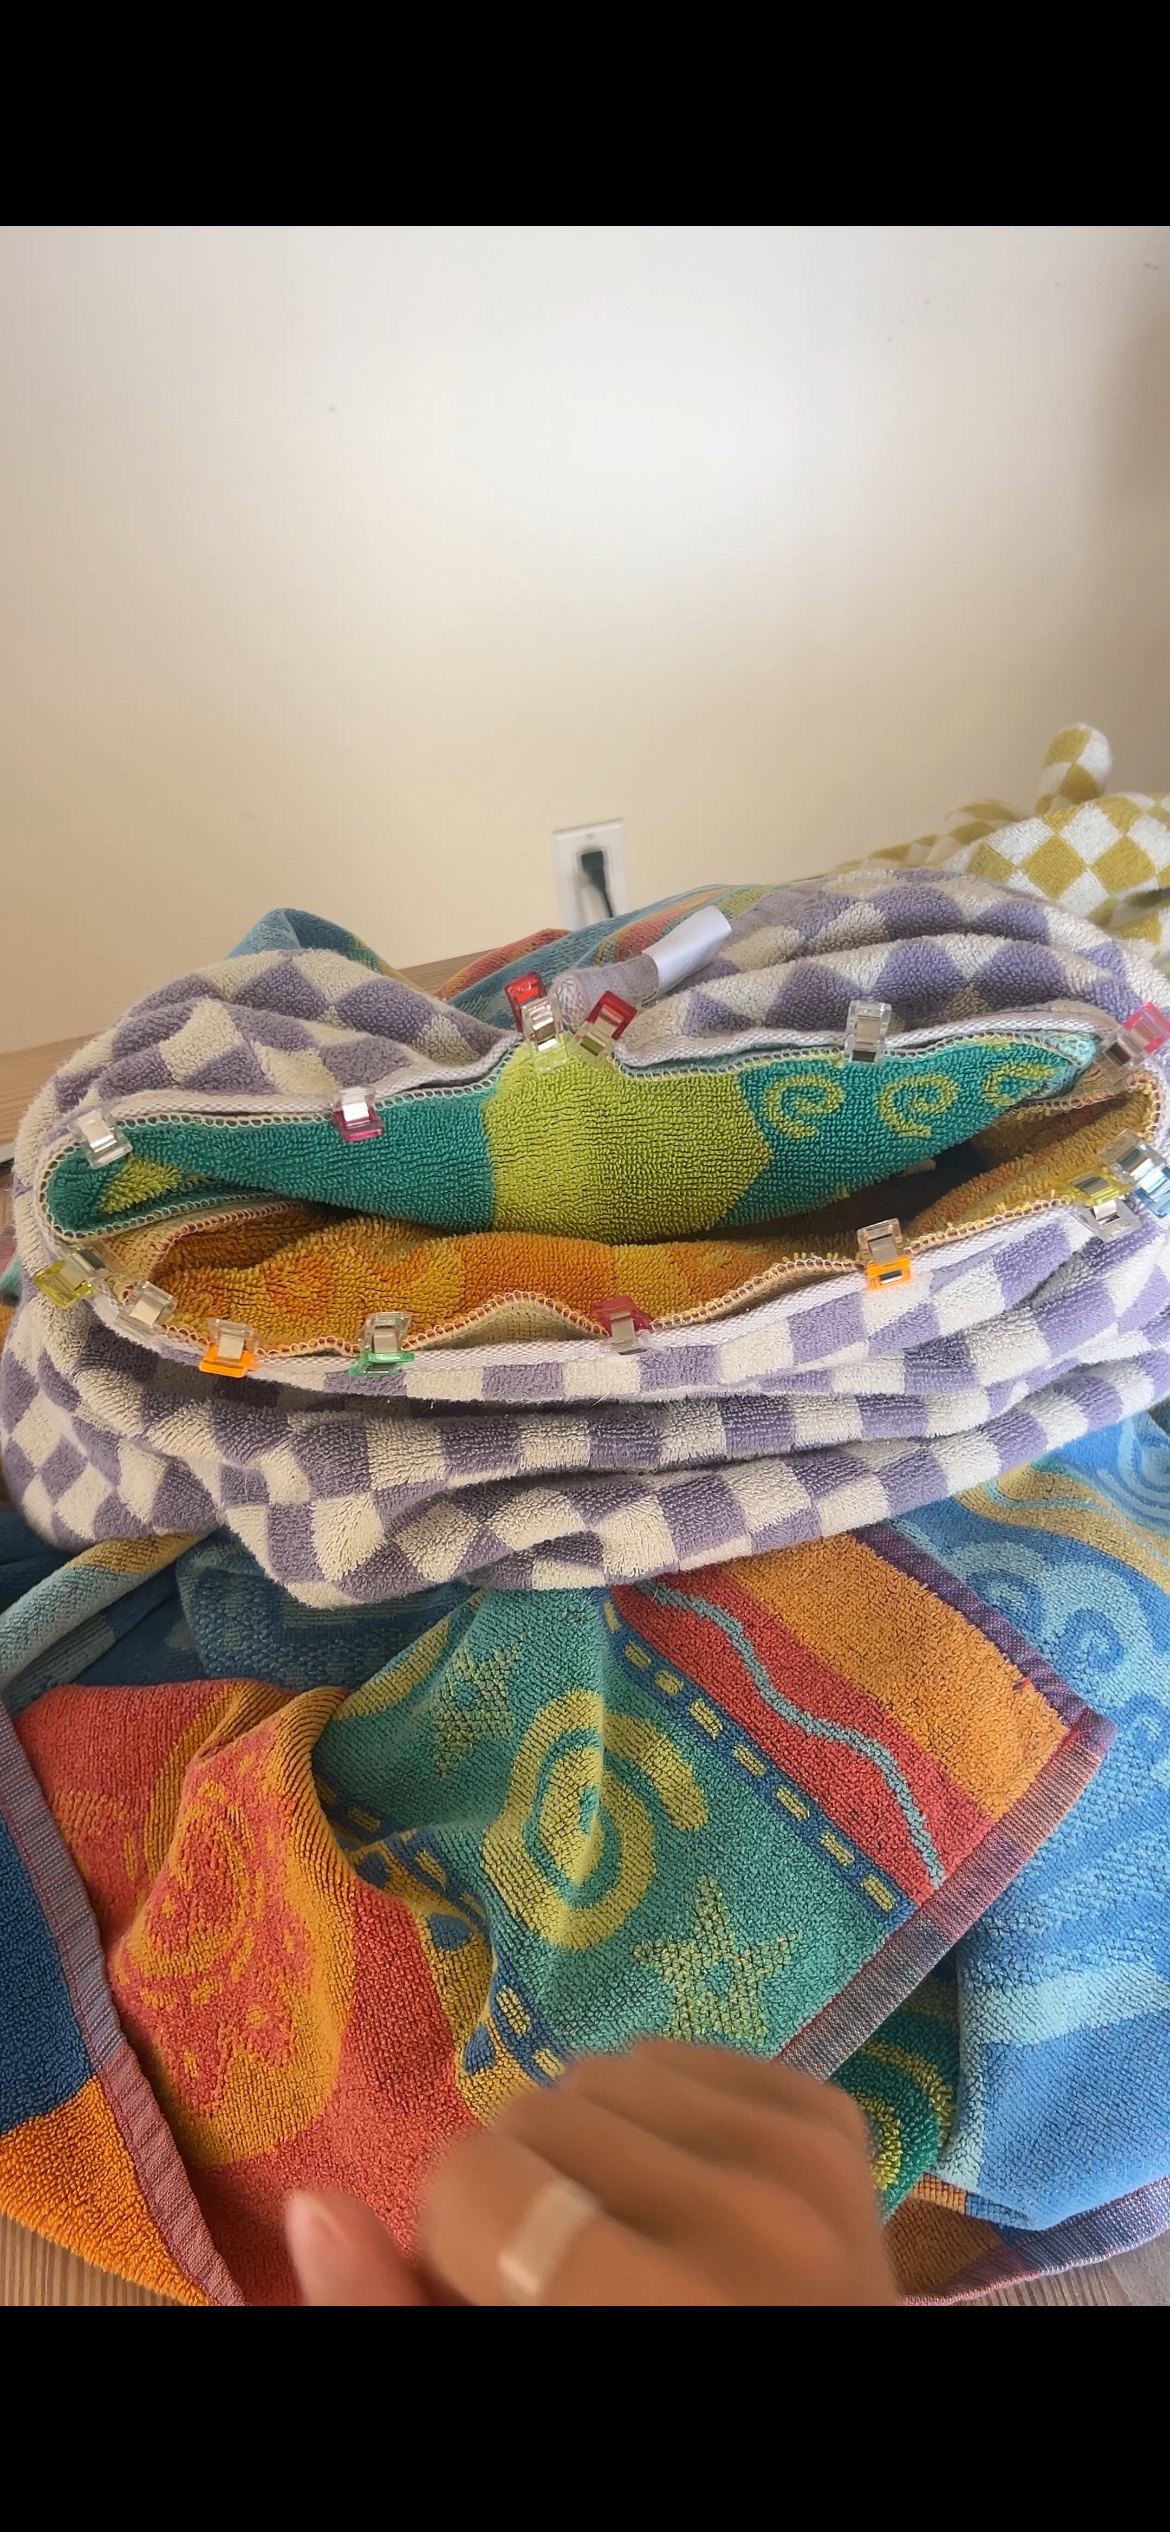
Match the center marking of the hand towel piece with the marking of the center back on the main body. Pin right sides together lining up the edges of the towels around the neck hole opening.
Sew from one end of the hand towel to the other, slowly, slowly, slowly!
3 Construct the Hood
Once the hood is attached, you will be left with 2 shorts sides of the towel and 1 long edge. Fold one of the short sides in toward the wrong side (or what will be the inside of the hood) by 1”. Clip the outer edge to secure. Edgestitch the folded edge into place along the edge that has been folded inward. Repeat on on the other side.
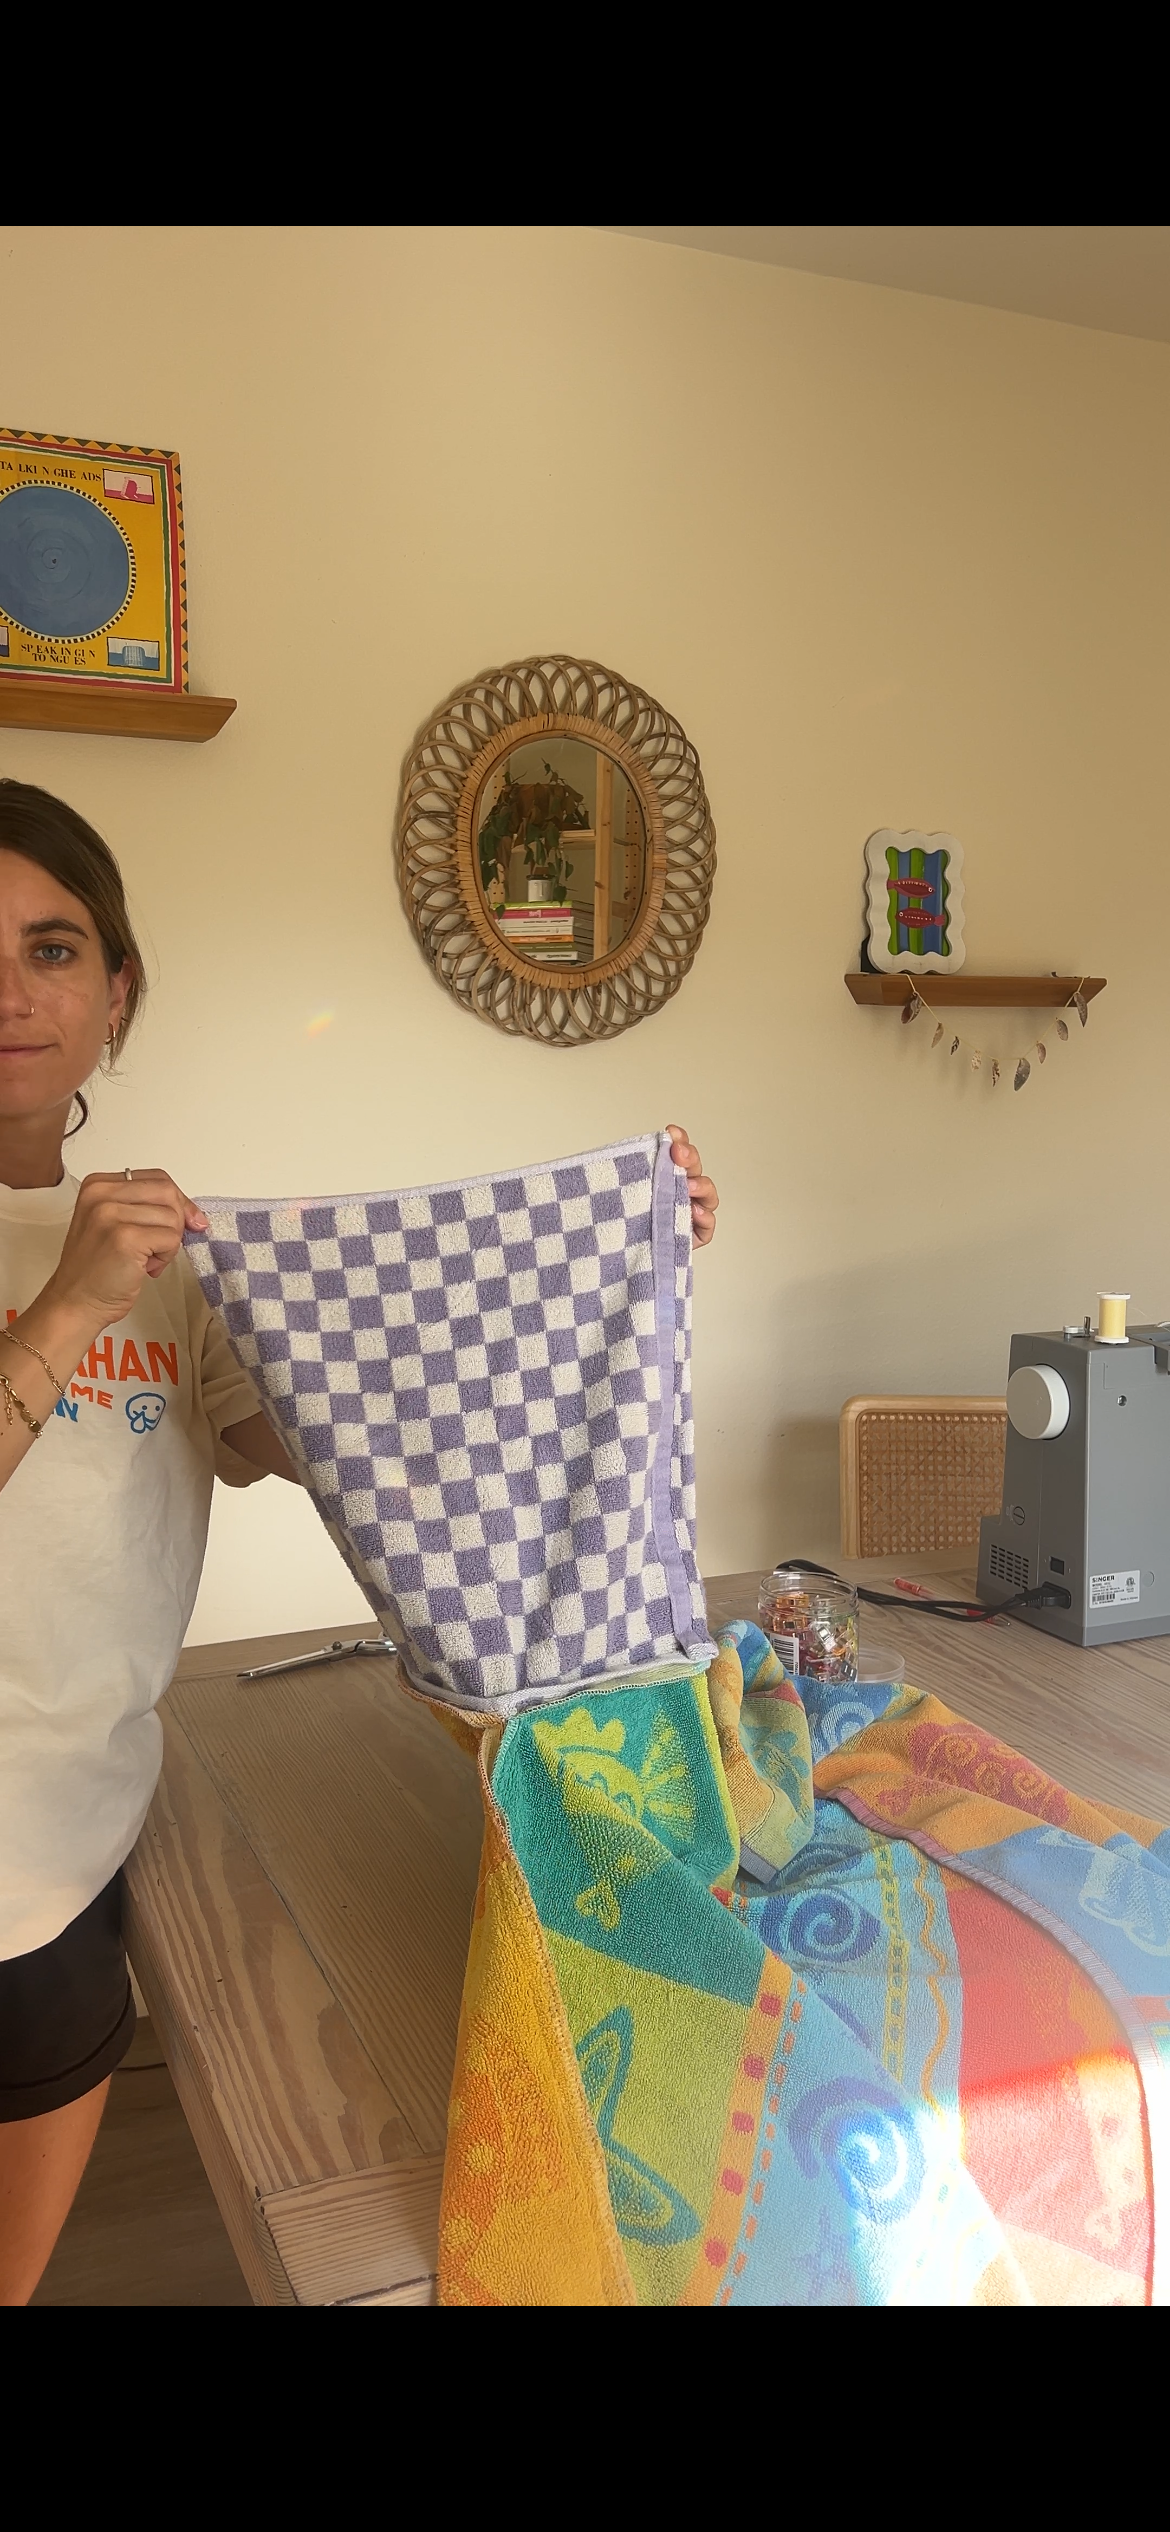
Fold the long edge of the towel right sides together and pin/clip. Sew with a 1/2” seam allowance.
You now have a hood!
4 Sew the Side Seams
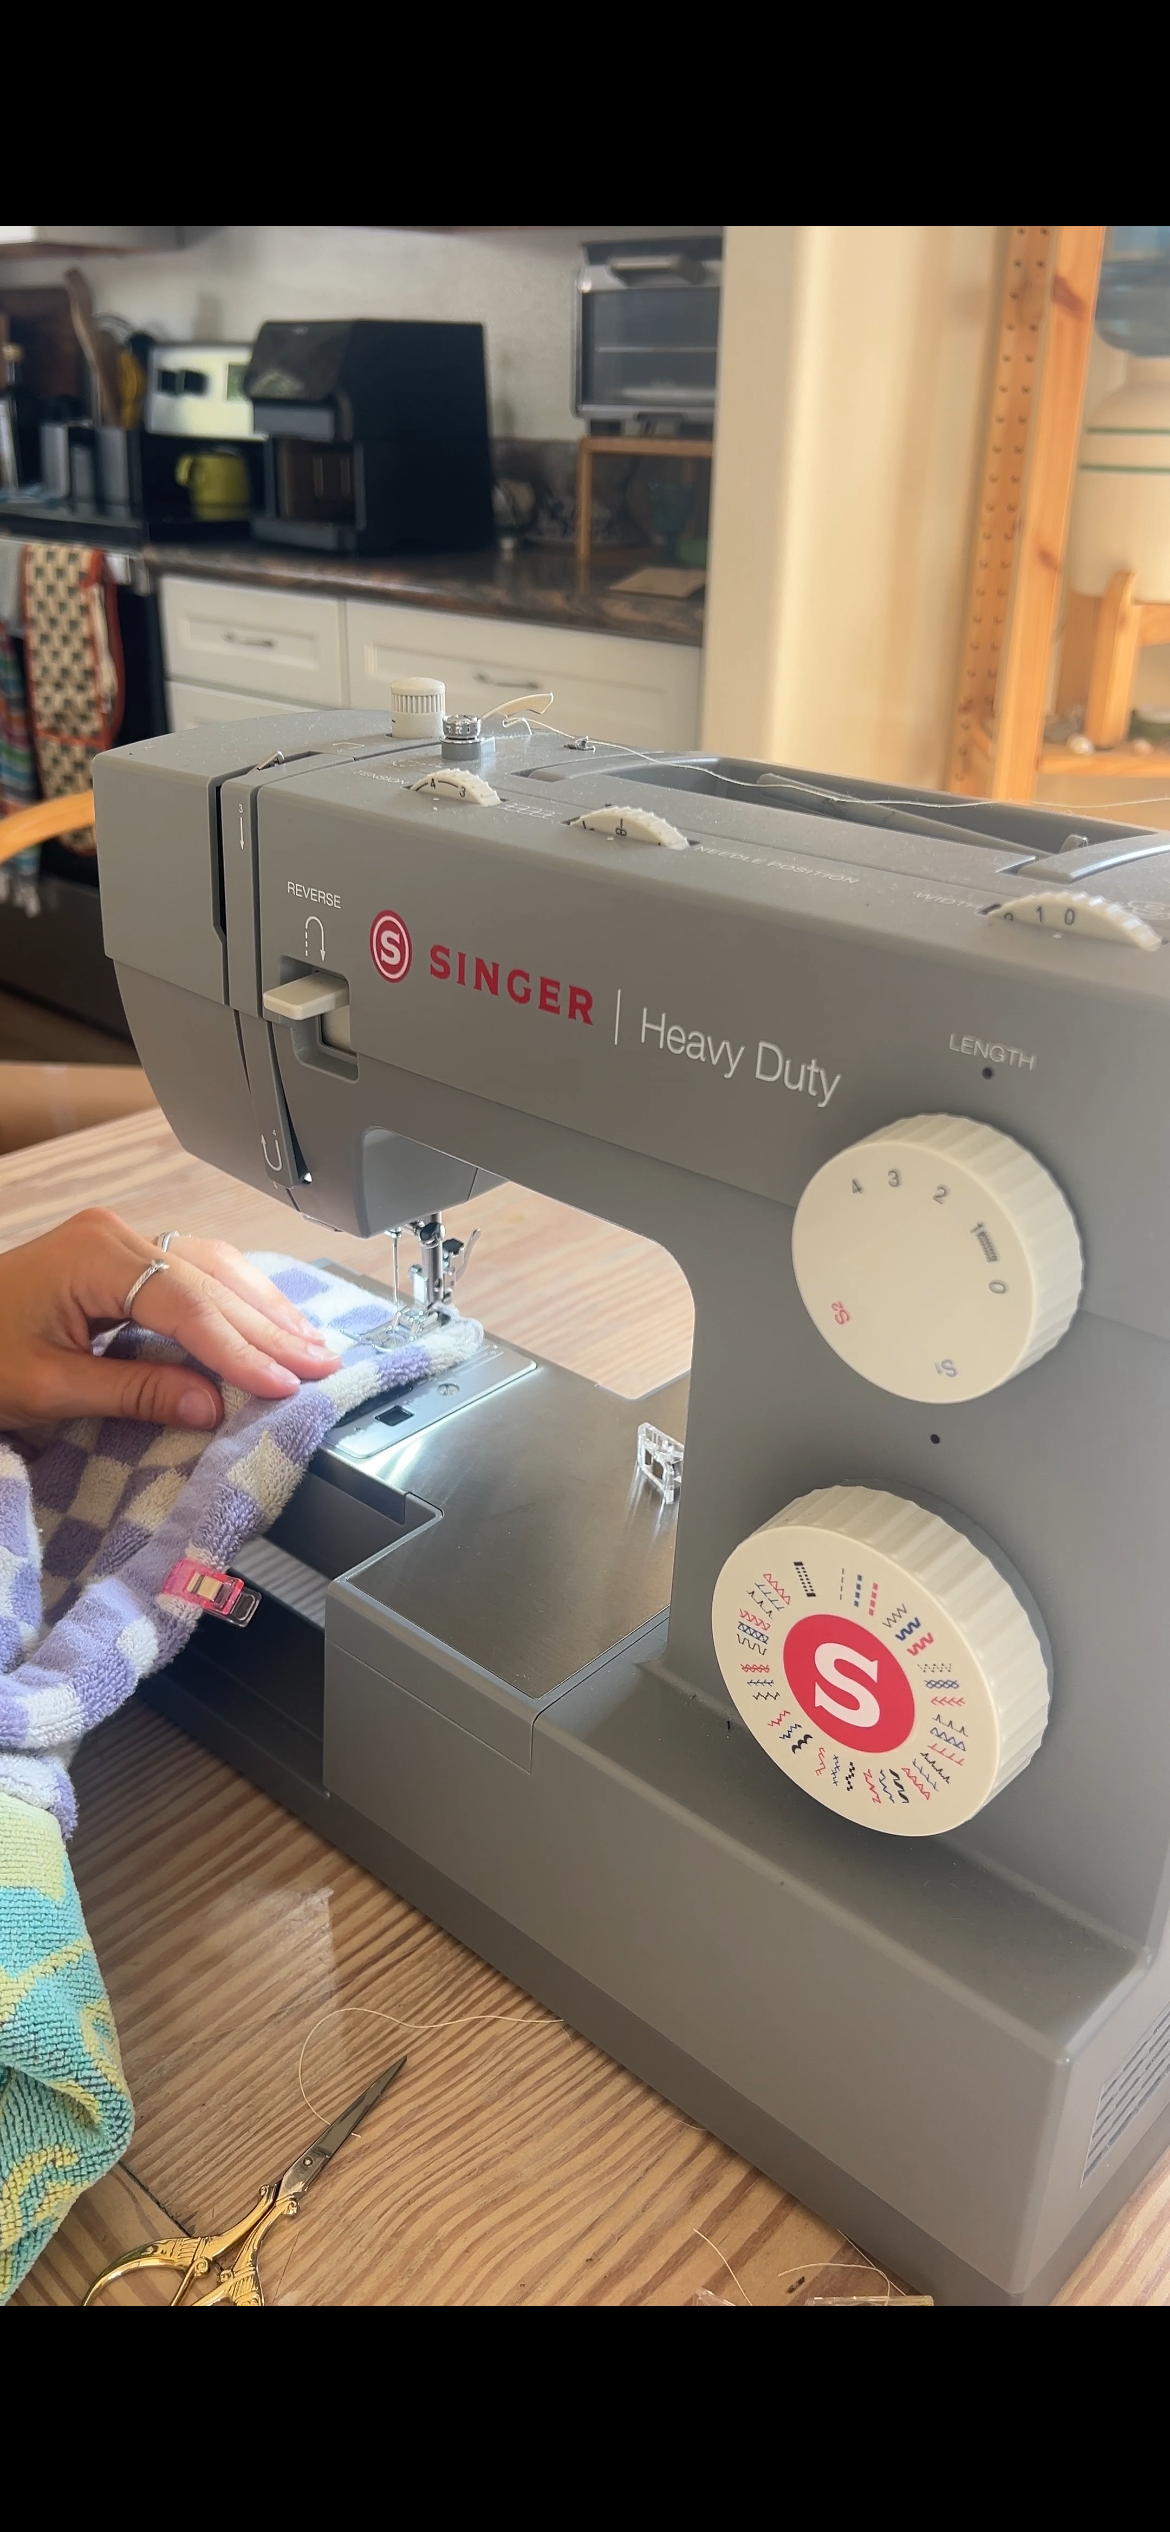
With right sides of the main body facing, find the markings for the arm holes (10” down from the shoulder seam). Sew from the arm hole notch to the marking 5” from the bottom of the garment. Repeat on the other side.
5 Hem (if the bottom isn’t already finished)
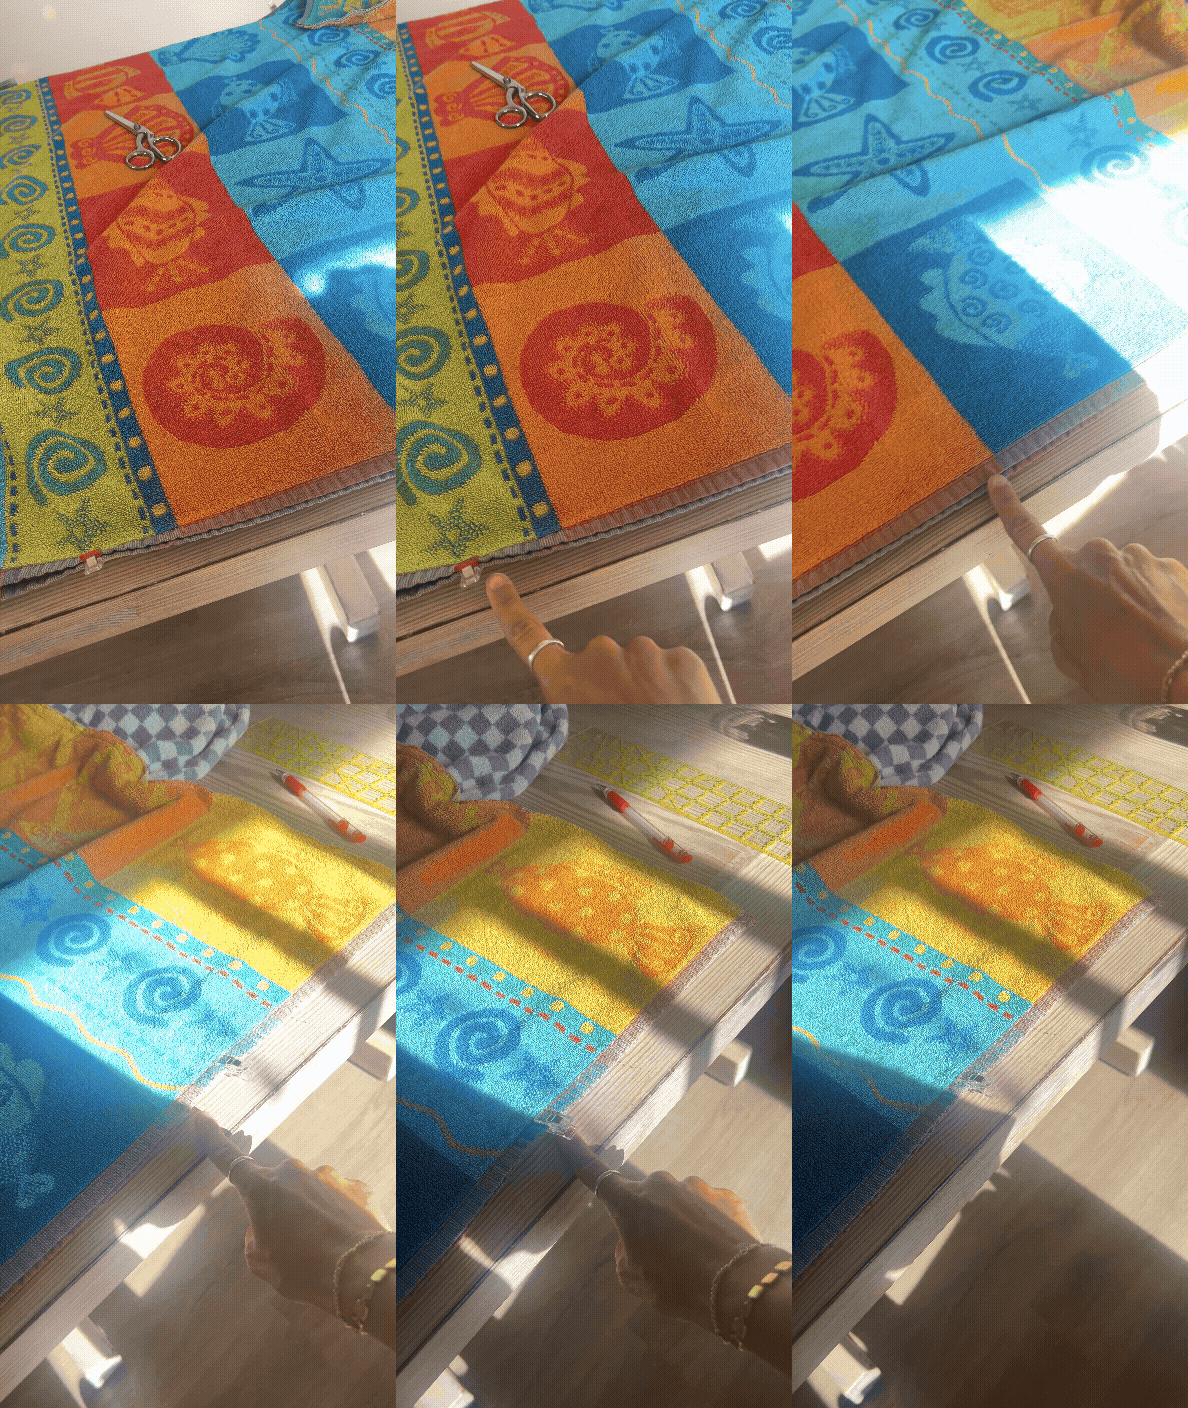
If you had to zig zag or serge the bottom edge, fold the bottom to the wrong side of the fabric by 1” or your desired hem length. Note that the larger the hem, the shorter the poncho will be.
Clip in place and edge stitch along the folded up edge over your zig zag or serged stitch.